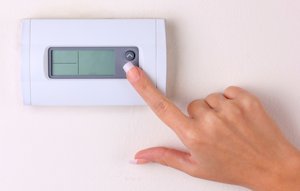
Replacing the Batteries in the Thermostat of Your Greenville Home
 Many homeowners don’t give much thought to their home thermostat until the heating or cooling system stops working and the home becomes uncomfortably hot or cold. While there may be specific issues with the HVAC system that require the skill of a trained technician to repair, sometimes the problem may be as simple as replacing the batteries in a thermostat.
Replacing thermostat batteries is a simple process, and while there may be slight variations between brands, for the most part the process is the same. Always check your owner’s manual before beginning this easy maintenance task.
How Do I Change the Batteries?
- Remove the wall thermostat housing from the wall mounting plate by gently pulling on it. If the housing doesn’t come off easily, slide it upward on the mounting plate and then remove.
- Flip the thermostat housing over and look for the battery removal slots. Remove the old batteries by prying them out with a small flathead screwdriver. Insert the screwdriver into the slots and lift up.
- Insert the new batteries into the battery slots. Replace the thermostat housing onto the wall plate. Align the terminal screw block with the pins and slide downward to lock it in place.
When Should I Change the Batteries?
Most HVAC professionals recommend replacing the batteries in a thermostat once a year or when the indicator on the digital display shows the battery is low. An easy way to remember is to schedule this replacement at the same time you replace the batteries in carbon monoxide and smoke detectors.
For more information about replacing the batteries in a thermostat, or for any other home comfort needs, call the experts at J & J Mechanical, Inc. We’ve been providing professional HVAC service and repair in the eastern North Carolina area since 1988.
Image Provided by Shutterstock.com

